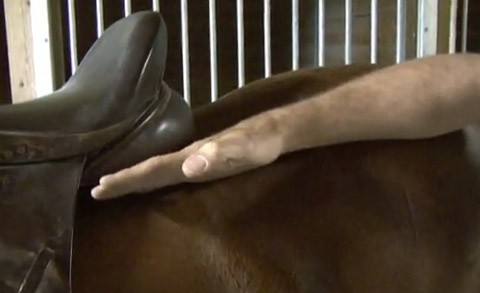
Now I am going to talk about saddle length. Before we do that, grab a piece of chalk and draw the edge of the shoulder blade. Then come to the last rib and follow the line, or find where the hair line comes together and draw a line straight up. You will see the last rib and that line meet up. Your saddle has to sit between those two lines.
Put it on to the shoulder then slide it back right behind the shoulder, making sure that the back of the saddle doesn’t go beyond that line. Now lets try a saddle that is too long. Here (shown in video) we have a saddle that is too long. We put it on the shoulder and slide it back right behind the shoulder, making sure that your horse has that freedom. Clearly we can see that the saddle is past the saddle support area and now it sits on the lumbar region, kidneys and ovaries. It is very uncomfortable for the horse to have pressure on the lumbar area!
What signs will can you look for? Number one: if the saddle presses into the lumbar region, the first gut feeling for the horse is to get the pressure off his lower back. He may do this by running away from the saddle or he may have a hard time transitioning from the walk, trot or canter, or he may have so much pressure that he starts bucking in order to get that weight off his back. What happens in this motion is it pushes the saddle forward and now we have the big problem again where the saddle sits on the shoulder and we start chipping away the cartilage and bone. This is definitely something we need to avoid!
6 Foreign Drugstore Options That Can Save Customer’s MoneyProtecting Users of Online Pharmacies: The Fight Against Illegal Remedies

